Checkbox and Radio Button
Checkbox and Radio Button components shows selectable items:
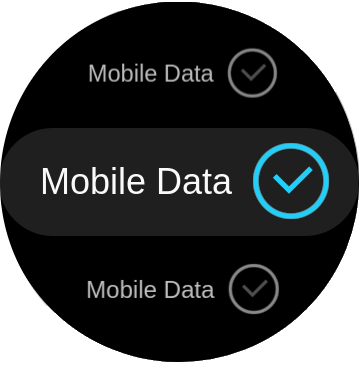
Checkbox
Radio Button
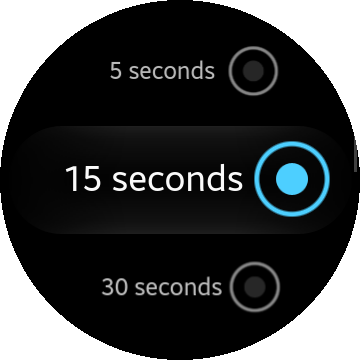
Table of Contents
HTML Examples
How to use Checkbox
The checkbox component shows on the screen a list of options where 1 or more can be selected. To add a checkbox component to the application, use the following code:
<input type="checkbox" name="mycheck" id="check-test" checked="checked"/>
<label for="check-test">Checkbox</label>
How to use Radio button
The radio button component shows a list of options on the screen where only 1 option can be selected. To add a radio button component to the application, use the following code:
<input type="radio" name="radioset" id="radio-1"/>
<label for="radio-1">Radio</label>
Using checkbox/radio in Listview
To add a checkbox or radio button to a list, use the following code:
<ul class="ui-listview">
   <li class="li-has-radio">
      <label>
         Radio checked
         <input type="radio" name="radioset" checked="checked"/>
      </label>
   </li>
   <li class="li-has-radio">
      <label>
         Radio button
         <input type="radio" name="radioset"/>
      </label>
   </li>
      </label>
   </li>
   <li class="li-has-radio disabled">
      <label>
         Radio disabled
         <input type="radio" name="radioset" disabled="disabled"/>
      </label>
   </li>
</ul>
Use the following code in the style.css file of your application to support a wide label tap area:
.ui-listview li input[type="checkbox"]:not(.ui-switch-input),
.ui-listview li input[type="radio"]
{
   position: absolute;
   right: 30px;
   top: 0px;
   margin-top: 25px;
}
.ui-listview li.li-has-checkbox label,
.ui-listview li.li-has-radio label
{
   display: block;
   padding: 31.5px 94px 31.5px 40px;
   margin: -30px -8px -21px -38px;
}